Our Best Thermostat Installation Tips

A thermostat may seem like a small component in your home, but its proper installation can have a significant impact on your comfort and energy savings. Whether you’re upgrading to a smart thermostat or simply replacing an old one, proper thermostat installation is crucial.
In this article, we’ll cover some common thermostat types and provide you with a comprehensive guide to ensure a successful thermostat installation.
By following our expert tips, you’ll be well-equipped to take on this DIY project and enjoy the benefits of an efficiently controlled home environment.
5 Common Thermostat Types
Thermostats have evolved significantly over the years, offering a range of options to cater to different preferences, lifestyles, and HVAC systems. Understanding the various types of thermostats can help you make an informed decision for your home.
1. Manual Thermostats
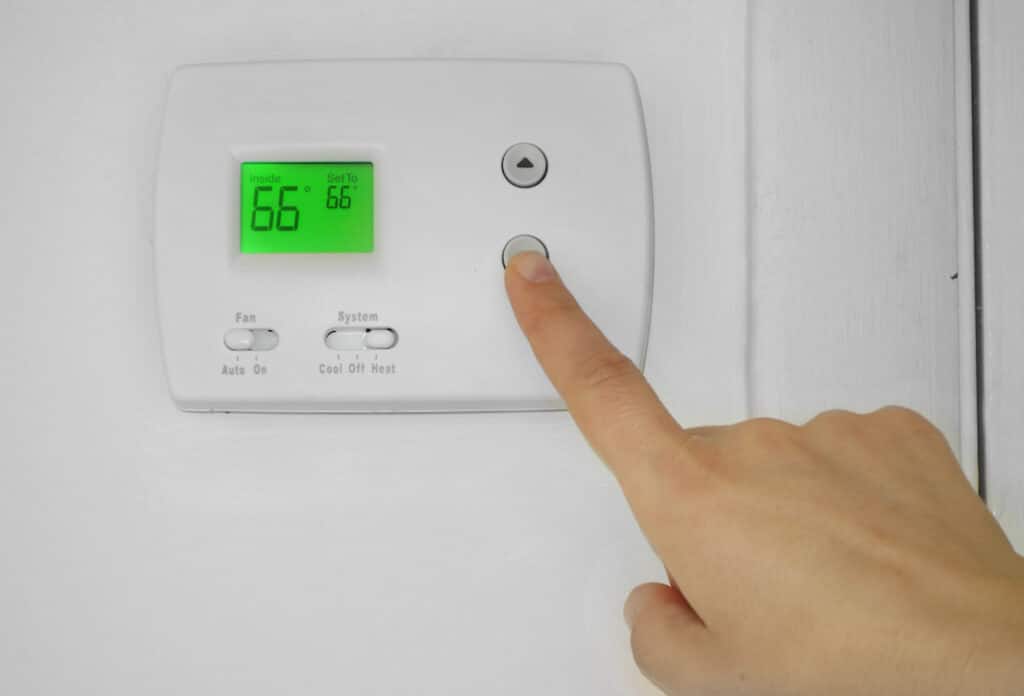
Manual thermostats are the most basic and traditional type. They allow you to manually adjust the temperature settings using a simple dial or slider.
While they lack the advanced features of newer models, manual thermostats are straightforward to use and may be suitable for individuals who prefer a no-frills approach.
2. Programmable Thermostats
Programmable thermostats offer increased control over your home’s heating and cooling schedule. They allow you to set different temperature levels for specific times of day or days of the week.
For instance, you can program the thermostat to lower the temperature while you’re at work and raise it before you return home. This feature helps optimize energy usage and can lead to significant cost savings over time.
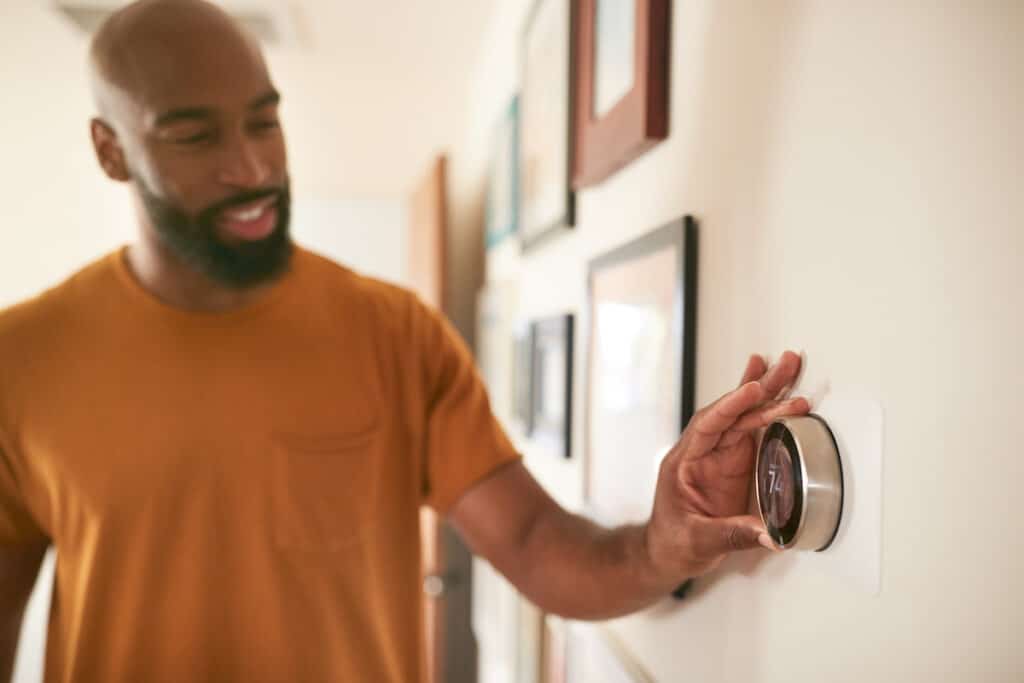
3. Smart Thermostats
Smart thermostats represent the cutting edge of home temperature control. These devices connect to your home’s Wi-Fi network, enabling remote access and control through a smartphone app or a web interface.
Smart thermostats often come with additional features such as:
- Learning capabilities
- Geofencing (adjusting the temperature based on your location)
- Integration with other smart home devices
They provide real-time energy usage data and insights to help you make informed decisions about your HVAC system.
4. Wi-Fi Thermostats
Wi-Fi thermostats offer similar functionality to smart thermostats but may not have all the advanced features. They allow you to control your home’s temperature remotely through a Wi-Fi connection. This is especially useful for making adjustments while you’re away from home, ensuring you return to a comfortable environment.
5. Touchscreen Thermostats
Touchscreen thermostats feature an intuitive touchscreen interface, making it easy to navigate settings and make adjustments. They often come with enhanced programming capabilities and may provide a more modern and visually appealing design compared to traditional thermostats.
Now that we’ve coerced the common thermostat types, let’s dive into our best thermostat installation tips.
Pre-Installation Preparation
Before you begin the installation process, it’s essential to make a few key decisions and gather the necessary tools. Taking these steps will set the foundation for a smooth installation experience.
Selecting the Right Thermostat
The first step is choosing the right thermostat for your home. Factors to consider include compatibility with your HVAC system and the type of thermostat that best suits your needs.
Programmable thermostats allow you to set heating and cooling schedules, while smart thermostats offer remote control and learning capabilities. Research different options and ensure compatibility with your heating and cooling setup.
Gathering Necessary Tools and Materials
To avoid unnecessary interruptions during installation, gather all the tools and materials you’ll need. Some common tools include:
- Screwdrivers
- Wire strippers
- A voltage tester
- A level
Consult the thermostat’s installation manual to determine the specific tools required for your model.
Safety First: Turning Off the Power
Safety should always be a top priority when working with electrical components. Before you start, it’s crucial to turn off the power to your HVAC system and thermostat to prevent any accidents.
Identifying and Switching Off the Correct Circuit Breaker
Locate the circuit breaker that controls power to your HVAC system. This breaker should be clearly labeled. Switch it off to cut power to the thermostat and HVAC unit. Double-check with a voltage tester to ensure no electricity is flowing to the thermostat wires.
Removing the Old Thermostat
With the power turned off, you can safely remove the old thermostat. Properly uninstalling the old thermostat sets the stage for a clean installation of the new one.
Switching Off the HVAC System
Before you remove the old thermostat, make sure the HVAC system is completely turned off. This step will prevent any potential mishaps or electrical issues during the removal process.
Identifying and Labeling Wires
Take a photo or make a note of the existing wiring connections on the old thermostat. Label each wire according to the terminal it’s connected to. This will help you correctly wire the new thermostat later on.
Detaching the Baseplate from the Wall
Carefully remove the old thermostat’s cover to access the baseplate. Unscrew the baseplate from the wall, gently pulling the wires through the opening. Set the old baseplate aside, as you’ll need it to ensure a proper fit for the new thermostat.
Wiring and Connecting
The wiring and connection process is arguably the most critical step in thermostat installation. Properly connecting the wires ensures that your new thermostat functions as intended.
Matching Wires to New Thermostat Terminals
Consult the installation manual for your new thermostat to identify the appropriate terminals for each wire. Match the labeled wires from the old thermostat to the corresponding terminals on the new baseplate.
Properly Stripping and Securing Wires
Using a wire stripper, carefully strip the ends of the wires to expose a small portion of the copper. This will allow for a secure connection to the new thermostat terminals. Ensure that no stray wires are exposed, as this can lead to electrical issues.
Connecting Wires to the New Thermostat’s Baseplate
Gently insert each stripped wire into its designated terminal on the new thermostat’s baseplate. Follow the manufacturer’s instructions for securing the wires in place. A common method involves tightening screws to clamp the wires securely.
Mounting the New Thermostat
Once the wiring is complete, it’s time to mount the new thermostat on the wall. Proper placement and alignment are crucial for accurate temperature readings and efficient operation.
Choosing an Appropriate Location
Select a location for the new thermostat that is away from direct sunlight, drafts, and other sources of heat or cold. Additionally, consider the thermostat’s height – it should be easily accessible for everyone in your household.
Using a Level to Ensure Proper Alignment
Before attaching the new baseplate, use a level to ensure it is perfectly aligned. A crooked thermostat can affect both its appearance and functionality.
Securing the Baseplate to the Wall
Once you’ve confirmed proper alignment, securely attach the new baseplate to the wall using the provided screws. Ensure that the baseplate is snug against the wall and doesn’t wobble.
Configuring the Thermostat
With the physical installation complete, it’s time to configure the thermostat’s settings to match your preferences and HVAC system.
Following the Manufacturer’s Instructions for Initial Setup
Consult the thermostat’s manual to guide you through the initial setup process. This may involve setting the date, time, and other basic preferences.
Connecting to Wi-Fi (if Applicable)
If you’re installing a smart thermostat, you’ll likely need to connect it to your home’s Wi-Fi network. Follow the step-by-step instructions in the manual to establish a connection.
Setting Date, Time, and Preferences
Navigate through the thermostat’s menu to set the correct date, time, and any other preferences, such as Fahrenheit or Celsius temperature readings.
Creating a Heating/Cooling Schedule
For programmable thermostats, take advantage of the ability to create a heating and cooling schedule. Set different temperature levels for different times of day to optimize energy efficiency and comfort.
Testing and Troubleshooting
Before you consider the installation complete, it’s important to test the thermostat’s functionality and address any potential issues.
Turning On the HVAC System
Turn the power back on to your HVAC system and test the thermostat’s heating and cooling functions. Listen for the sound of the system activating and feel for changes in air temperature.
Checking for Proper Functioning of Heating and Cooling
Set the thermostat to a desired temperature and observe how the HVAC system responds. Ensure that both heating and cooling modes are functioning correctly.
Calibrating Temperature Readings if Necessary
If you notice a discrepancy between the thermostat’s temperature reading and the actual room temperature, consult the manual to calibrate the thermostat for accuracy.
Addressing Any Error Messages or Issues
If you encounter any error messages or issues during testing, refer to the troubleshooting section of the manual or contact the manufacturer’s customer support for assistance.
Final Steps
With the thermostat successfully installed and tested, there are a few final steps to ensure a clean and professional finish.
Sealing Any Gaps Around the Thermostat
To prevent drafts and maintain accurate temperature readings, use caulk or weatherstripping to seal any gaps between the thermostat and the wall.
Installing the Thermostat Cover
Snap the thermostat cover into place, ensuring that it fits securely over the baseplate. This cover protects the internal components and completes the installation’s aesthetic appearance.
Double-Checking All Connections and Settings
Before you wrap up the installation process, take a few minutes to double-check all the wiring connections and settings. This final inspection can help you catch any potential oversights.
Master Your Thermostat Installation
A properly installed thermostat is the key to maintaining a comfortable and energy-efficient home. By following our comprehensive guide, you can confidently tackle the installation process and enjoy the benefits of precise temperature control.
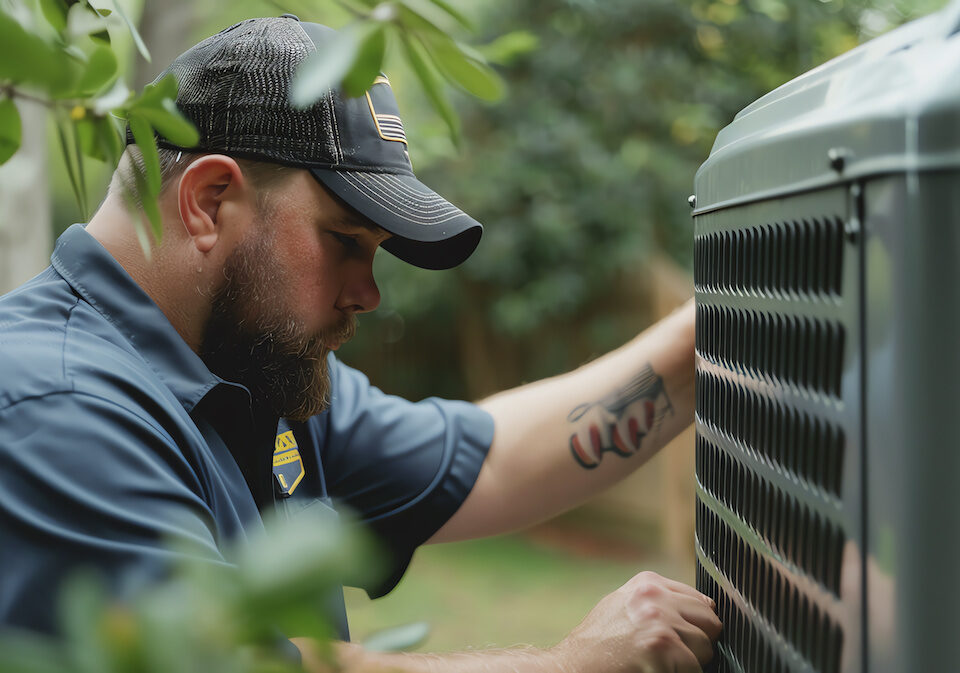
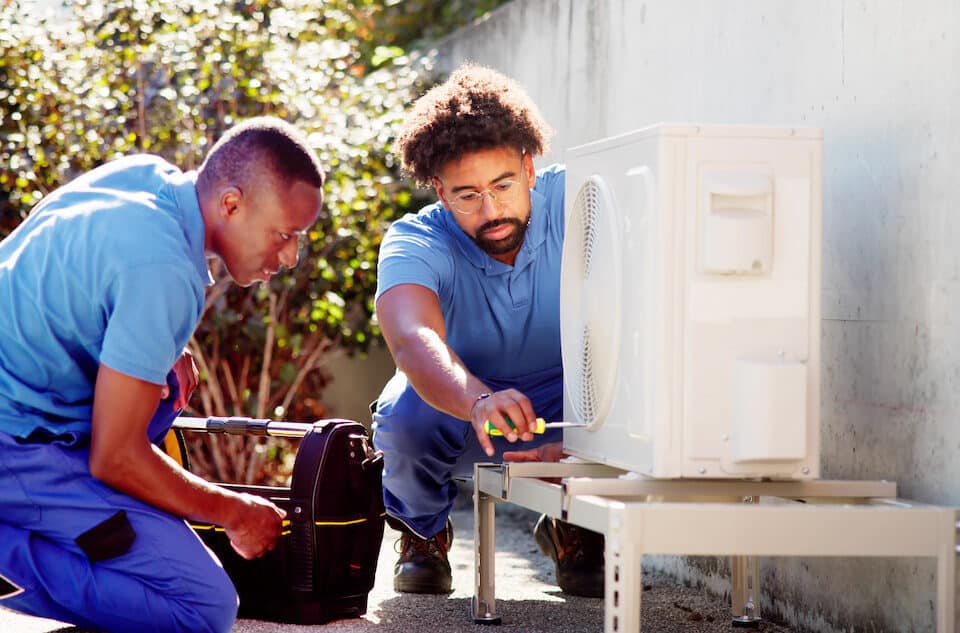
But if you don’t want to take on the task alone, reach out to our team at Trust Heating and Air. We’ll ensure proper thermostat installation in your home!
